A large part of my preschool’s PreK curriculum is emergent and shifts depending on my students’ interests, strengths, and challenges. As I started this school year, I wasn’t sure how handwriting instruction would play out. At the start of the year, we began to work individually with students on writing their names, meeting each child where they are at with various tools, but at the start of the year, I wasn’t sure how or when group lessons would emerge. I did know that when it was time to introduce handwriting, we’d make it fun, and this handwriting game is precisely that.
Assess through observation.
First and foremost, look at your students’ abilities with fine motor tasks like beading, little lego, playdough, and lacing. Assess their abilities with tools like scissors, crayons, and chalk/chalkboards. Also, look at their interest in letters and pay attention to you when you write words in class. Take note of their ability and interest in writing their names with and without help. Before introducing the Roll & Write handwriting game, I suggest introducing the tools, the mini whiteboards, and markers to see who is and who isn’t interested. For us, everyone was interested, so that, along with my observations, told me it was go time! Never forget it’s ok to try an activity and then realize it’s not time yet. That is just part of the teaching process.
Make it quick and fun.
We aren’t doing worksheets. We are playing a game, but it’s still adult-directed, so I try to keep it short and sweet. I play this game every Monday. As we transition from quiet reading time to our second free choice block, we sit together for about 5 minutes and play.
Ready for the rules of this handwriting game?
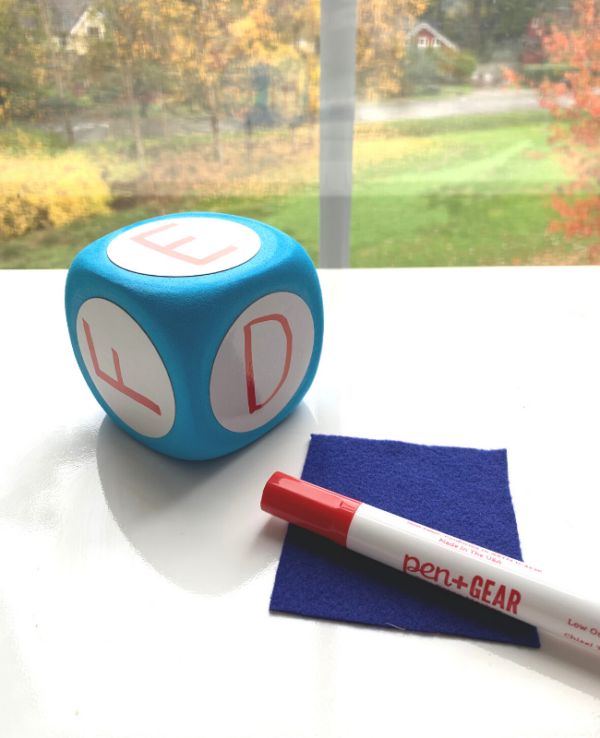
Gather your materials. Each child will need a mini whiteboard, dry erase, and dry erase eraser ( black felt works excellent). You will need a set for yourself too, and you will also need a dry erase die. My students are all successful with whiteboards, but you may find one of your students needs more friction. If that’s the case, make them a mini chalkboard ( I have a great DIY for it here) out of a clipboard and give them a piece of chalk. The friction of the blackboard may be exactly what they need to help them form the letters.
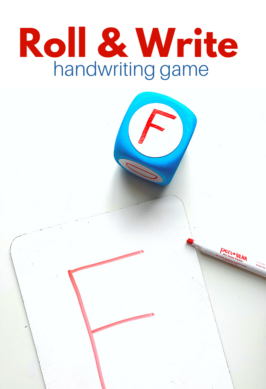
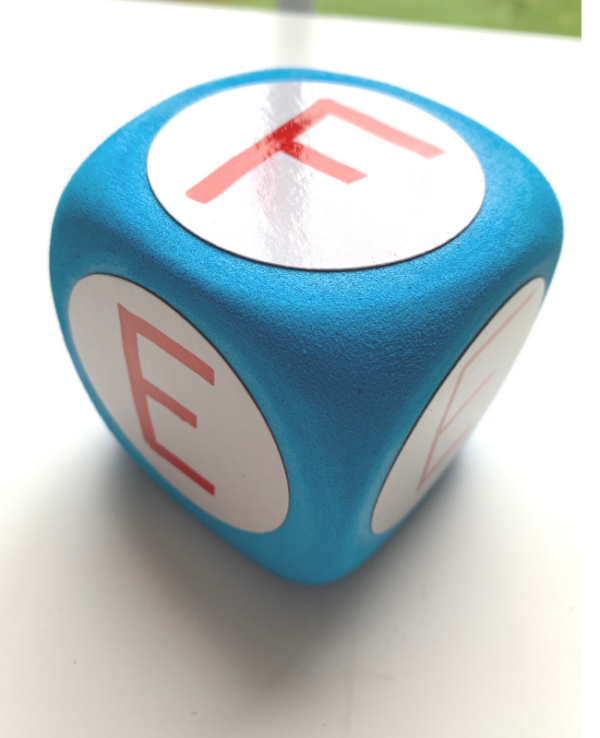
Write the letters on the die.
Wait, which letters do you use?
Handwriting is a little different than letter recognition. When I teach letter recognition, I teach upper and lowercase concurrently, but with handwriting, there is good evidence in the literature to start only with uppercase. This isn’t about recognition. It’s about the physical development of fine motor skills. It is easier to make the movements needed for the uppercase letter formation. So we start with uppercase and then move to lowercase letters.
I follow the order suggested by Handwriting Without Tears (F, E, P, B, R, M, N, H, K, L U, V, W, X, Y, Z, C, O, Q, G, S, A, I, T, J) along with their suggested steps for individual letter formation. Learn more about the program here. While I don’t follow the HWT curriculum with fidelity, our school district uses it for Kindergarten, and we try to give our PreK students a gentle introduction to it. In addition to using the HWT order for introduction, we also build letters with blocks, and many other multi-sensory pre-writing activities focused on skill-building.
The first week we played this game, I wrote F and O on the dice … I know O isn’t until much later in the HWT order, but I’d seen every one of my students make circles with crayons, so I included it, so the die wasn’t just all Fs. Observing your class really is the key to success.
Once your letters are on the die and all the children are sitting on the rug ready to play, show them the letters.
Next, demonstrate how to write the letters that are on the die using your whiteboard, making sure you are verbalizing each step. For the F, it would be “Start at the top. A big line down, froggy jump up, little line, little line.” Then everyone together will write the letter while you narrate the steps.
Repeat for the other letters on the die.

Now it’s time to roll. Whatever letter is pointing up to the sky, everyone writes on their whiteboard. Don’t forget to narrate each step.
Here’s the most important part; the next week, you will introduce the following letter in the order adding it to your die. I write the new letter on the die more often than the previous weeks’ letters, so my students have more chances to practice the new letter. I usually roll the die 5 or 6 times tops. My goal is to get my students comfy with basic handwriting activities. To introduce basic letter formation and the vocabulary their kindergarten teachers will likely use in their classrooms, not mastery. They are just in PreK. There is no need to push and no need for perfection. We are having fun. If this game is frustrating for your students, they aren’t ready yet. If you have a few ready students, try this handwriting game at a small group time instead.
Using this handwriting game once a week in my PreK class has been amazing, my students love it, they are becoming really confident with writing tools. They are so proud to hold up their whiteboards to show me what they wrote. Don’t forget to keep it short and sweet.

